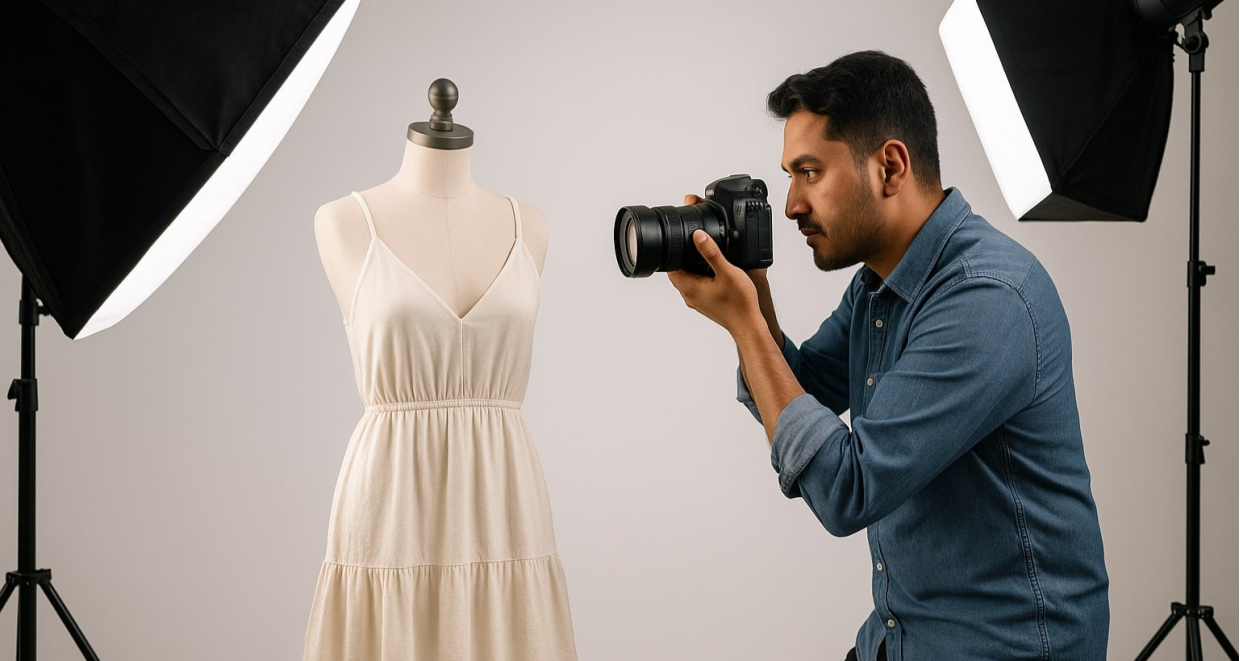
In the digital-first world of online shopping, product photos are more than just visuals—they're your virtual storefront. Whether you're running a small online store in Nepal or launching a full-scale e-commerce brand, product photography plays a key role in converting browsers into buyers.
But what makes a product photo great? It’s not just the camera—it’s the lighting, setup, and editing that bring your product to life. This blog explores essential lighting knowledge, camera basics, lens selection, editing, and when it’s time to call in a professional. You’ll also discover how and where to use these images effectively to drive engagement and sales.
The Role of Lighting in Product Photography
Lighting is everything in photography. It shapes the look, feel, and professionalism of your product shots.
- Visibility: Proper lighting removes harsh shadows and showcases product details clearly.
- Realism: Consistent light sources help maintain true-to-life colors.
- Emotional Appeal: Lighting sets the mood—soft diffused light for skincare, sharp shadows for tech gear.
Compare these:
- A poorly lit shot taken indoors under yellow bulbs.
- A well-lit image using a strobe with a softbox.
Choosing the Right Camera for Product Photography
You don’t need a million-rupee camera to get started—but understanding your options helps.
DSLR Cameras
- Pros: High image quality, manual settings, wide lens options.
- Cons: Bulky, learning curve.
Mirrorless Cameras
- Pros: Compact, powerful, live exposure preview.
- Cons: Slightly higher cost for similar specs.
Smartphones
- Pros: Convenient, increasingly powerful.
- Cons: Limited lens control, not ideal for complex lighting.
Entry-Level Recommendations: Canon EOS 200D II, Sony Alpha a6100, latest iPhone or Samsung with Pro Mode.
Understanding Camera Lenses
Your camera is only half the story—lenses do the visual magic.
- Prime Lenses: (e.g., 50mm) Sharper images, wider apertures.
- Zoom Lenses: (e.g., 24–70mm) Versatility but can be costlier for sharpness.
Recommended Focal Lengths: 50mm for general product shots, 100mm macro for close-up details.
Tip: Avoid ultra-wide lenses—they distort product shape and mislead buyers.
Camera Settings Essentials
- ISO: Keep it low (100–400) for clear images.
- Aperture (f-stop): Use f/8–f/11 for sharp focus.
- Shutter Speed: Use a tripod and remote shutter to avoid blur.
Lighting Types and Photography Setups
Natural Light
Great for beginners. Use a window with a white curtain to diffuse sunlight.
Artificial Light
- Continuous Light: Always on; easy to preview.
- Strobe Lights: Flash when you shoot; powerful and crisp.
Setups
- Three-Point Lighting
- Light Tents
- Reflectors
Color Temperature: Use 5000–5500K daylight bulbs for neutral white balance.
Balancing Camera vs. Lighting Investment
Many beginners overspend on cameras and neglect lighting.
Lighting usually has a bigger impact. Great lighting can make even a smartphone photo look professional.
Smart Upgrade Path:
- Start with lighting kits or buy lights from local vendors.
- Use free editing tools.
- Upgrade your camera later.
Common Photography Mistakes
- Inconsistent lighting
- Harsh shadows
- Blurry images due to handheld shooting
- Over-editing or no editing at all
Post-production Editing
- Cropping for clean composition
- Color Correction for brand consistency
- Background Removal for marketplaces
Recommended Tools:
- Lightroom
- Photoshop
- Canva
- Snapseed
When to Hire a Professional Product Photographer
Benefits:
- Consistent, high-quality images
- Time savings
- Optimized for web, print, and social platforms
What to Ask Before Hiring:
- Portfolio relevant to your product
- Studio setup and lighting gear
- Commercial licensing
In Nepal, many skilled professionals offer cost-effective solutions for product photography.
Where and How to Use Product Photos
- E-commerce Websites: Clean backgrounds, zoom features
- Social Media: Branded lifestyle shots for Instagram, Facebook, Pinterest
- Email Marketing: Hero images, new arrivals
- Digital Ads: Carousels, retargeting visuals
- Print Media: Flyers, catalogs, packaging
- Marketplaces: Amazon, Etsy image guidelines
Budget-Friendly DIY Setup Tips
Build Your Studio
- Use white sheets or foam board backdrops
- Natural light from a window
- Tripod and reflectors
Low-cost Lighting Kits
Two softboxes, daylight bulbs, tripod, and reflector for under NPR 10,000.
Conclusion
Great product photography = more trust + higher conversions. Lighting, camera skills, and smart use of visuals are essential for e-commerce success.
Whether you're going DIY or hiring a pro, take the first step toward leveling up your online presence.
Start shooting—or start your search for the right photographer who fits your brand!
FAQ: Product Photography for E-commerce
1. Do I need a DSLR to start product photography?
No. A smartphone with good lighting can work well for small-scale e-commerce photography.
2. What lights are best for product photography?
Daylight-balanced softboxes or LED panels. Strobes offer professional-level results.
3. How do I avoid shadows in my product photos?
Use diffused light from both sides and a reflector to fill in shadows.
4. Should I use white or colored backgrounds?
White is ideal for websites and marketplaces; use colored or lifestyle backgrounds for social media.
5. How much does a professional product shoot cost in Nepal?
Typically between NPR 5,000–15,000, depending on the scope and number of products.


0 Comments